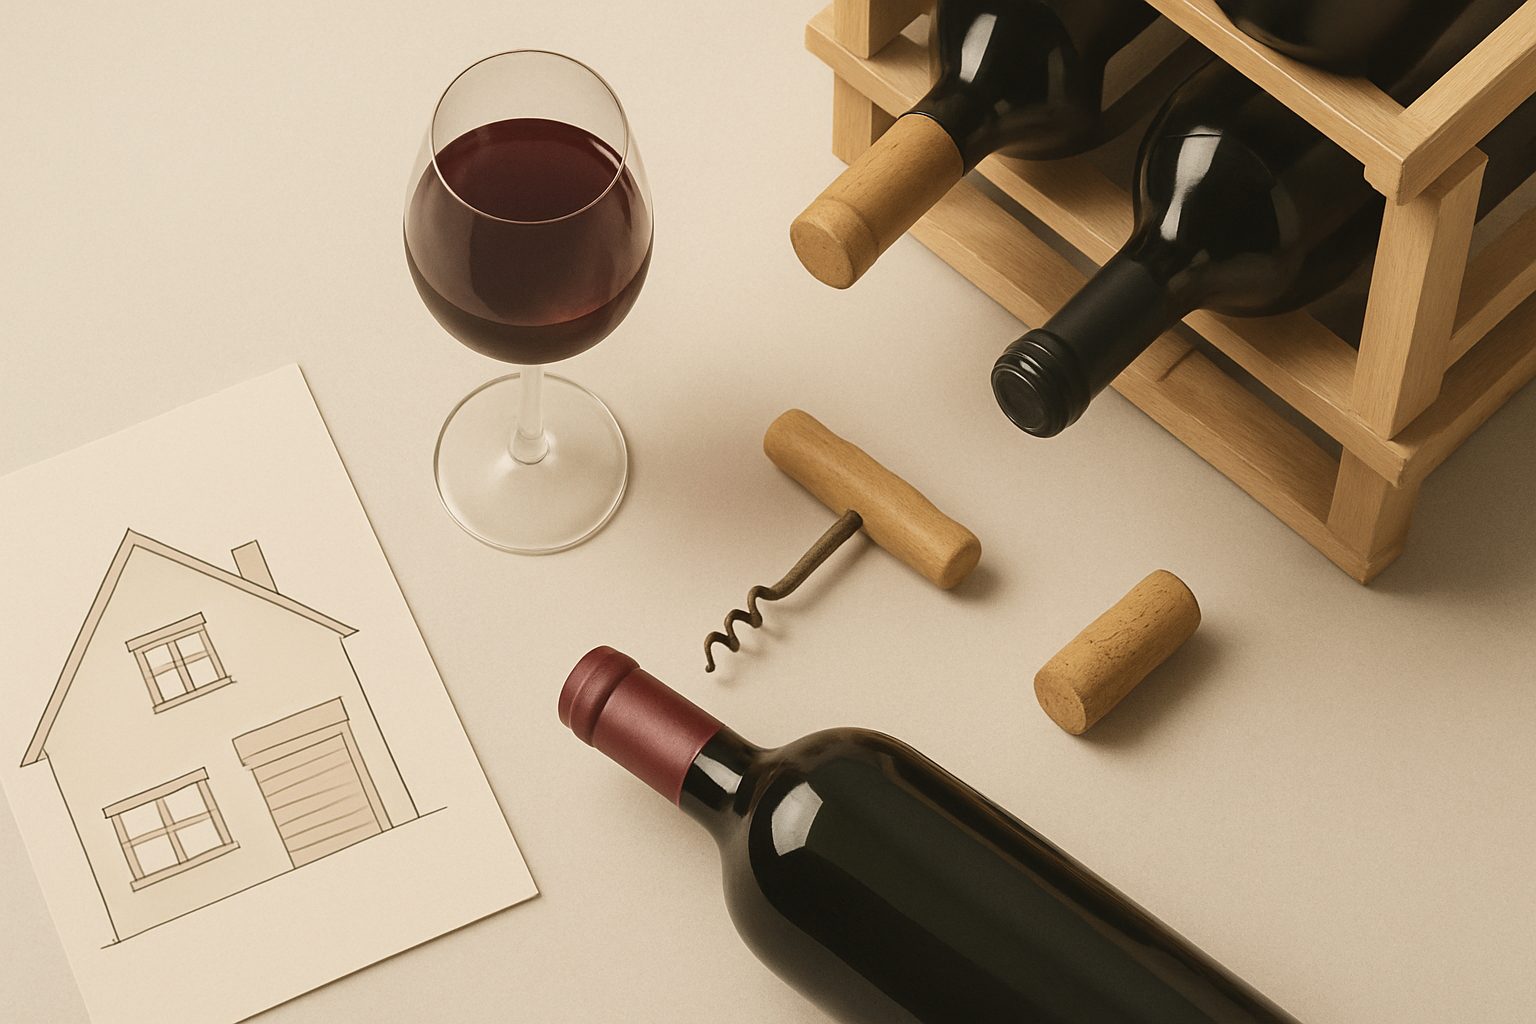
How to Convert Under-Stairs Space Into a Wine Cellar UK: Step-by-Step Guide
Converting the wasted space beneath your stairs into a wine cellar is one of the most practical uses for that awkward cupboard. It's cool, dark, and already partially enclosed—the three things wine craves. Unlike a full basement renovation, you can do this in a weekend with hand tools and modest materials. Here's how to do it properly.
Why Under-Stairs Works for Wine
Under-stairs storage benefits from natural temperature stability because it's insulated on three sides and below ground level in many homes. The space stays naturally cooler than upstairs rooms, and the earth around it acts as a thermal buffer. It's also discreet—nobody's opening a random cupboard expecting a £500 bottle to be sitting there.
The main challenge is moisture. Wine cellars need 50–80% relative humidity to keep corks moist, and under-stairs spaces tend toward dampness. You'll manage this, but it requires planning.
Step 1: Assess and Prepare Your Space
Measure the area precisely: height, width, and depth. Measure the angle if it's under a staircase—you'll lose headroom as you go back. Check the walls for damp patches or active moisture. If there's water ingress, address this first with a damp-proof course paint or membrane; no wine is worth storing in a wet cupboard.
Clear the space completely. Remove any existing shelving and debris. Inspect the flooring—concrete is ideal, but if it's soil or cracked concrete, you'll need to level it with self-levelling concrete before proceeding.
Step 2: Insulate the Walls and Door
Insulation is critical for temperature consistency. Rigid foam boards (typically 50mm–100mm thick) are better than mineral wool under stairs because they're moisture-resistant and create an airtight barrier when fitted properly. PIR (polyisocyanurate) boards offer the best insulation value per thickness.
Cut the boards to fit your walls and secure them with adhesive compatible with your wall type. You'll need wooden battens between the foam and your plasterboard finish, or you can apply plasterboard directly to the foam using dabs of adhesive. Tape all joints with foil-backed tape to prevent warm, moist air infiltrating the space.
The door is your biggest thermal weak point. A standard internal door loses heat constantly. Replace it with a solid-core or composite door, and fit weatherstripping around all edges. If you can't replace the whole door, at least seal gaps with draught-proofing strips.
Step 3: Install Active Cooling
Under-stairs spaces rarely stay cool enough naturally without assistance, especially in summer. You need a wine cooler or small split air-conditioning unit designed for wine storage.
For smaller collections (under 50 bottles): A standalone wine fridge works, though it takes up floor space. Sizes range from 20-bottle countertop units to tall 150-bottle fridges. These plug in and maintain exact temperatures (typically 10–15°C adjustable).
For larger spaces: Install a through-wall wine cooler unit or a compact split-system air conditioner. These vent heat outside the space, which is crucial—a standalone fridge inside a sealed cupboard will struggle because it has nowhere to dump its heat output.
Ensure your power supply can handle the load. Most wine coolers draw 300–500W continuously. Run a dedicated circuit if possible.
Step 4: Control Humidity
Once you've cooled the space, humidity management becomes easier—cool air holds less moisture. However, you'll likely need a humidifier to maintain 50–80% relative humidity, especially if the space dries out.
A small ultrasonic humidifier (around 2–4 litre capacity) works well in enclosed spaces. Place it on the floor away from your wine racks so it doesn't create damp spots on bottles. Monitor relative humidity with an inexpensive digital hygrometer—these cost £10–20 and are essential for checking conditions.
Step 5: Install Wine Racking and Storage
Wine racks come in countless styles. For a DIY under-stairs space, consider:
- Metal wine racks: Affordable, modular, and strong. You can stack them to fit irregular height variations.
- Wooden wine racks: Better aesthetically if you ever open the door for guests. Softwood racks work fine; don't overpay for "premium" hardwood.
- Bespoke wooden racks: If you're handy, build your own from 2×2 timber and angled slots to hold bottles horizontally. This maximises space under the angled ceiling.
Arrange bottles horizontally so the wine stays in contact with the cork. This keeps corks moist and prevents premature oxidation. Avoid stacking bottles more than three or four high—you want easy access without disturbing the entire collection.
Step 6: Lighting and Finishing
LED strip lighting is ideal—it produces minimal heat (important in a sealed space) and adequate visibility. Install it underneath a shelf or along the base so light doesn't directly hit bottles. Wine prefers darkness, so use dimmable lights or keep them off when not accessing bottles.
Finish the walls with moisture-resistant plasterboard (green board) and paint with a breathable primer and emulsion. Avoid vinyl wallpaper, which can trap moisture.
Final Considerations
Verify your work before filling it with wine. Run the cooling unit for 48 hours, then check temperature stability (should vary by no more than ±2°C) and humidity levels. Adjust the humidifier as needed.
Insurance may need updating if you're storing valuable wine. Many home policies exclude wine collections, so check the small print.
With proper insulation, cooling, and humidity control, an under-stairs wine cellar will preserve your collection far better than a kitchen rack ever could. The space itself is free; you're just paying to make it perform.
More options
- Wine Fridges & Cabinets (Amazon UK)
- Wine Racks & Modular Cellar Kits (Amazon UK)
- Wine Cellar Cooling & Climate Control Units (Amazon UK)
- Hygrometers, Thermometers & Humidity Controllers (Amazon UK)
- Wine Cellar Insulation & Vapour Barrier Materials (Amazon UK)